SCOUT Epic, Day One (August 5)

  1. Southern Colorado and Utah (SCOUT) Epic Roadtrip/Adventure
  2. SCOUT Epic, Day One (August 5)
  3. SCOUT Epic, Day Two (August 6)
  4. SCOUT Epic, Day Three (August 7)
  5. SCOUT Epic, Day Four (August 8)
  6. SCOUT Epic, Day Five (August 9)
  7. SCOUT Epic, Day Six (August 10)
  8. SCOUT Epic, Days Seven & Eight (August 11 & 12)

On the first day of the trip, I wanted to head south through Deckers to go fishing, and then get down to Great Sand Dunes National Park and Preserve. The fishing in Deckers turned out not to be too great (and it was drizzling), but it was beautiful nonetheless. The water was also a lot colder than I expected, so I really should have brought my waders/boots so that I could have gotten out there properly.

From there, I took 67 and 24 down to Colorado Springs, and then I25 all the way down to Walsenburg. I was going to grab something “local”, but things seemed to be pretty shut/quiet, and I ended up just grabbing a burger at Carl’s Jr (barf) before heading out again. Heading west on 160 (some beautiful scenery along here), and then north on 150 took me to the Great Sand Dunes, which were super impressive. This is where I picked up my “America The Beautiful” pass, so now I have no excuse not to get out to more parks/forests etc.

I had originally planned to hike in the afternoon, and then camp at Zapata Falls Campground, which is a few miles outside of the dunes. When I talked to the rangers at the park though, they suggested that since I had a high-clearance 4WD (yay new Ranger!), I should head up Medano Pass Primitive Road a bit, where there are a bunch of first-come-first-serves campsites. I got there later than planned, so I was going to be hiking the dunes in the morning anyway, so this made a lot more sense (coming back that way already).

To be honest I was a bit nervous about heading up this road, because I’d read a little about it, and it sounded like some pretty serious 4WD-ing. I hadn’t even turned the knob to make sure the 4WD worked on the Ranger, and definitely hadn’t taken it off-road. I was also driving alone, and didn’t feel super prepared for if things got ugly (no winch, no high-jack, etc etc). But… YOLO. So I headed off, and it turned out to be relatively fine; some good mud, some sand, a couple of small creek crossings and I was into my campsite (site #0, right after you technically leave the park, just over 5 miles in on the road).

I initially grabbed a campsite a little further up the road, but after fatbiking up and down to the next creek crossing, I decided to come back to the the very first one, which was more protected and looked nicer. It was a pretty awesome campsite, although it had been raining pretty heavily (and continued drizzling) there, so everything was wet. Getting a fire going was pretty tedious and involved a lot of stoking and blowing. Eventually I got something to hold a flame though (albeit with a bunch of smoke), which gave me something to do in the dusk hours.

Southern Colorado and Utah (SCOUT) Epic Roadtrip/Adventure

  1. Southern Colorado and Utah (SCOUT) Epic Roadtrip/Adventure
  2. SCOUT Epic, Day One (August 5)
  3. SCOUT Epic, Day Two (August 6)
  4. SCOUT Epic, Day Three (August 7)
  5. SCOUT Epic, Day Four (August 8)
  6. SCOUT Epic, Day Five (August 9)
  7. SCOUT Epic, Day Six (August 10)
  8. SCOUT Epic, Days Seven & Eight (August 11 & 12)

When we moved to Denver, one of the primary reasons was to be able to get outdoors and enjoy nature a lot more. Between moving to a new city, then buying and working on a new house, I didn’t actually feel like we’d done much of that, so this summer I planned to fix that. With a three month from sabbatical, I had a lot of time on my hands, so I planned to take a road trip, and combine it with a bunch of hiking, backpacking, fishing and mountain biking. I spent a week on the road, heading south from Denver, then across the bottom half of Colorado, into Utah, back up to I70 and across to Denver again. It was amazing.

This post series will cover each day in a separate post, and will break down that portion of the trip, the things I did that day, and the things I saw. Keep an eye on this post, which will link all of them together.

Minnesota Boundary Waters Canoe Area Adventure

As chance would have it, in the weeks leading up to my Colorado River canoe trip, I managed to hitch onto another canoe trip. This one was a little more “extreme”. A group of us were going to Minnesota for a friend’s wedding, and so the plan was to get there early, drive up to the Minnesota Boundary Waters, and head out into them on canoes for a 4 day/3 night adventure. Apart from this being the first time I’d flown into a different state to go camping, I’d also be going with 4 people I’d never camped with, and canoeing into very, very remote wilderness, where we had to portage our canoe between lakes, and were beyond the reach of motorized vehicles of any kind (let alone cell phone reception).

TL;DR: It was an amazing trip, the BWCA is stunningly beautiful, and we all got along great, and had a fantastic time! Here are some highlights:

  • Day One (Monday July 25th)
    • Almost everyone else’s flights into MSP were delayed, which actually worked out OK, because it meant we all ended up landing at similar times (otherwise I would have landed a few hours later).
    • We grabbed our rental car, loaded everything in (whoah, 5 people + gear in a single SUV!), and drove up to Grand Marais.
    • Lake Superior is pretty incredible. The largest fresh-water lake on the planet, and apparently holds about 10% of the Earth’s fresh water!
    • That night we camped in Cascade River State Park, which is just outside Grand Marais (technically in Lutsen). We got rained on a bit overnight and into the morning.
  • Day Two (Tuesday, first day in BWCA)
    • Drove into the Boundary Waters and got to our put-in point, Seagull Outfitters. After chatting with the folks there, we decided to try to get to Lake Ogishkemuncie (aka “Ogish”).
    • We put in at Seagull Lake, and got turned around a bit in amongst all the small islands, so that instead of going along the North shore of Seagull Lake as planned, we got South of Three Mile island, and effectively tracked the South shore of Seagull. Oops — mostly my bad. The hardest thing about navigating was getting a feel for scale and distance.
    • Once we realized what we’d done, we got on track, and had a better sense for the scale of things IRL vs the map.
    • Our first portage was actually the longest one we’d have to do the entire trip, from Seagull into Alpine. It’s roughly 100 rods (portages are measured in “rods”, which are approximately equal to the length of a canoe). It was pretty flat, but there were some ugly muddy patches which made it a bit tricky. It’s also just rough carrying a canoe on your shoulders for any real distance. I think if I did it again, I’d go for a lighter weight kevlar canoe, even though you need to be a bit more careful with them.
    • Not too long after that we had another portage into Jasper. Since we were pretty tired at that point, and didn’t really want to attempt another two portages to get to Ogish, we decided to base camp at one of the campsites suggested by the folks at Seagull, on Jasper lake.
    • That turned out to be a great decision — awesome campsite, so we stayed there 2 nights.
    • The next morning we got a little more rain, but nothing too serious.
  • Day Three (Wednesday)
    • On Wednesday we decided to day-trip over to Ogish and finish what we started. We realized it would have been a really long day if we’d tried to get all the way there on the first day, especially having to portage all our gear. Since we were base-camped, our portages were much lighter/easier this time.
    • In the afternoon, Brandon and I tried our hand at fishing. My Tenkara rod didn’t yield anything, but he caught a smallmouth bass on his spinning rig (in addition to hooking himself pretty deep on the thumb!). We kept the fish and ate it that night.
    • I also managed to pick up a bunch of leeches on my feet, I think perhaps while I was fishing and standing in the shallows. I thought I remembered that you’re supposed to burn off, so I used a lighter and did that (Note: you’re not).
    • We slept at our basecamp again, and saw a little bit of the Northern Lights (green haze, some streaking). We also stayed up and checked out some amazing skies/stars, including a huge, clear view of the Milky Way.
  • Day Four (Thursday)
    • We needed to be able to get out of the Boundary Waters, and back to the Twin Cities relatively early on Friday, so we paddled back to Seagull and went looking for a good spot to camp there for the night. Our requirements were in Seagull Lake, past a certain point (closer to our take-out point), and on an island. After going past about 5 of our shortlisted spots and finding them all taken, we started getting a bit stressed out, but ended up finding a really fantastic spot on an island just off the south-west tip of Three Mile Island (which is itself within Seagull Lake).
    • Along the way, we foraged for blueberries and raspberries while portaging, and had a delicious healthy snack.
    • I managed to get more leeches. My guess is that they were actually camping out in my sandals, and that when I put them back on in the morning, they all just jumped on. Either that, or I’m just really unlucky.
    • In the afternoon, after setting up camp, Brandon and I went out with his spinning rod and each caught a fish! We had them both that night as well, combining three of my “bucket-list” items — going on a multi-day canoe camping trip, camping on and island on a lake, and cooking a fish that I caught over an open fire.
    • This night we were treated to another absolutely amazing sunset, and then the real spectacle — serious Northern Lights. We had all sorts of green glowing, streaks, flashes and swirls. It was absolutely stunning (even though I know it wasn’t remotely as intense as it gets sometimes).
  • Day Five (Friday)
    • Up early (about 6am) and pack everything up quickly so we could get on the water. There was some mist floating around when we set off which was pretty dramatic.
    • We paddled out within a few hours, got back to Seagull Outfitters and unloaded everything.
    • They have a shower-block, so we cleaned up a bit and loaded everything back into the SUV so that we could make the drive back down to the Twin Cities in time for a pre-wedding pool party!

This was definitely one of the most memorable trips I’ve been on, and I don’t think I’ll ever forget it. The Boundary Waters are a truly special place, and I hope we can maintain and protect them for years to come. I’d love to return for another trip there, and would hope that things were exactly the same as I left them.

Colorado River Canoe Adventure

This was my first ever canoe-camping adventure, and actually crossed something off my “bucket list” — going on a multi-day canoe-camping trip. I’ve kayaked a fair bit before, but have only been canoeing once or twice, and only on lakes, so in very calm water. For this trip, I was lucky enough to just tag along on something organized by Erika’s friend, Tom. He has actually done a very similar trip a few times before, so it was good to have someone who knew the score to point us in the right direction.

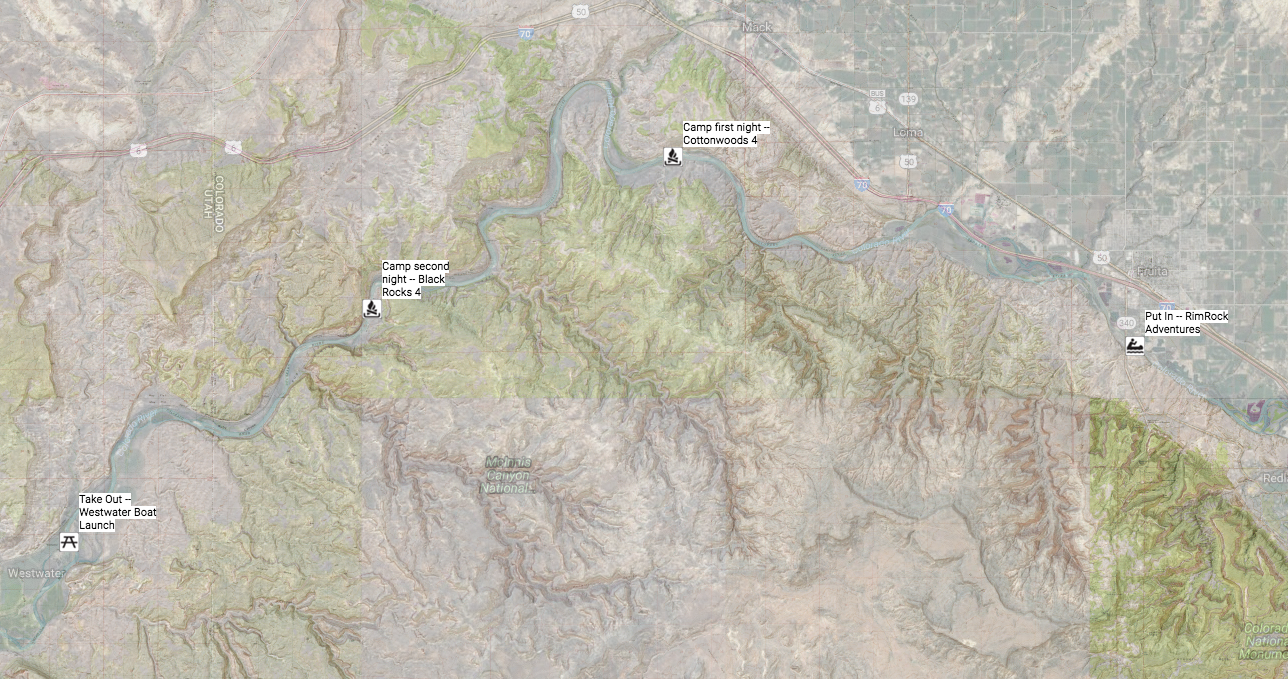
We rented canoes through Rimrock Adventures, so we put in at their location in Fruita, and had them pick us up and shuttle us back there (where we left our cars). I found camping in canoes really awesome, and it was closer to car camping than it was to backpacking, in that we could carry a lot of equipment (and beer), without it being a burden. Since we’d just paddle all day, then pull up to a beach-front campsite, we didn’t really need to carry things around much. We also didn’t even need to paddle that much, since the current of the river carried us a lot of the way. We actually had to watch our progress and make sure we weren’t going too fast, and pull over and take a break if we were! Unfortunately, at the last minute we found out there was a fire ban, so we had to keep our meals simple enough to be able to be prepared on a small stove. Bit of a bummer, but not much we could do about it.

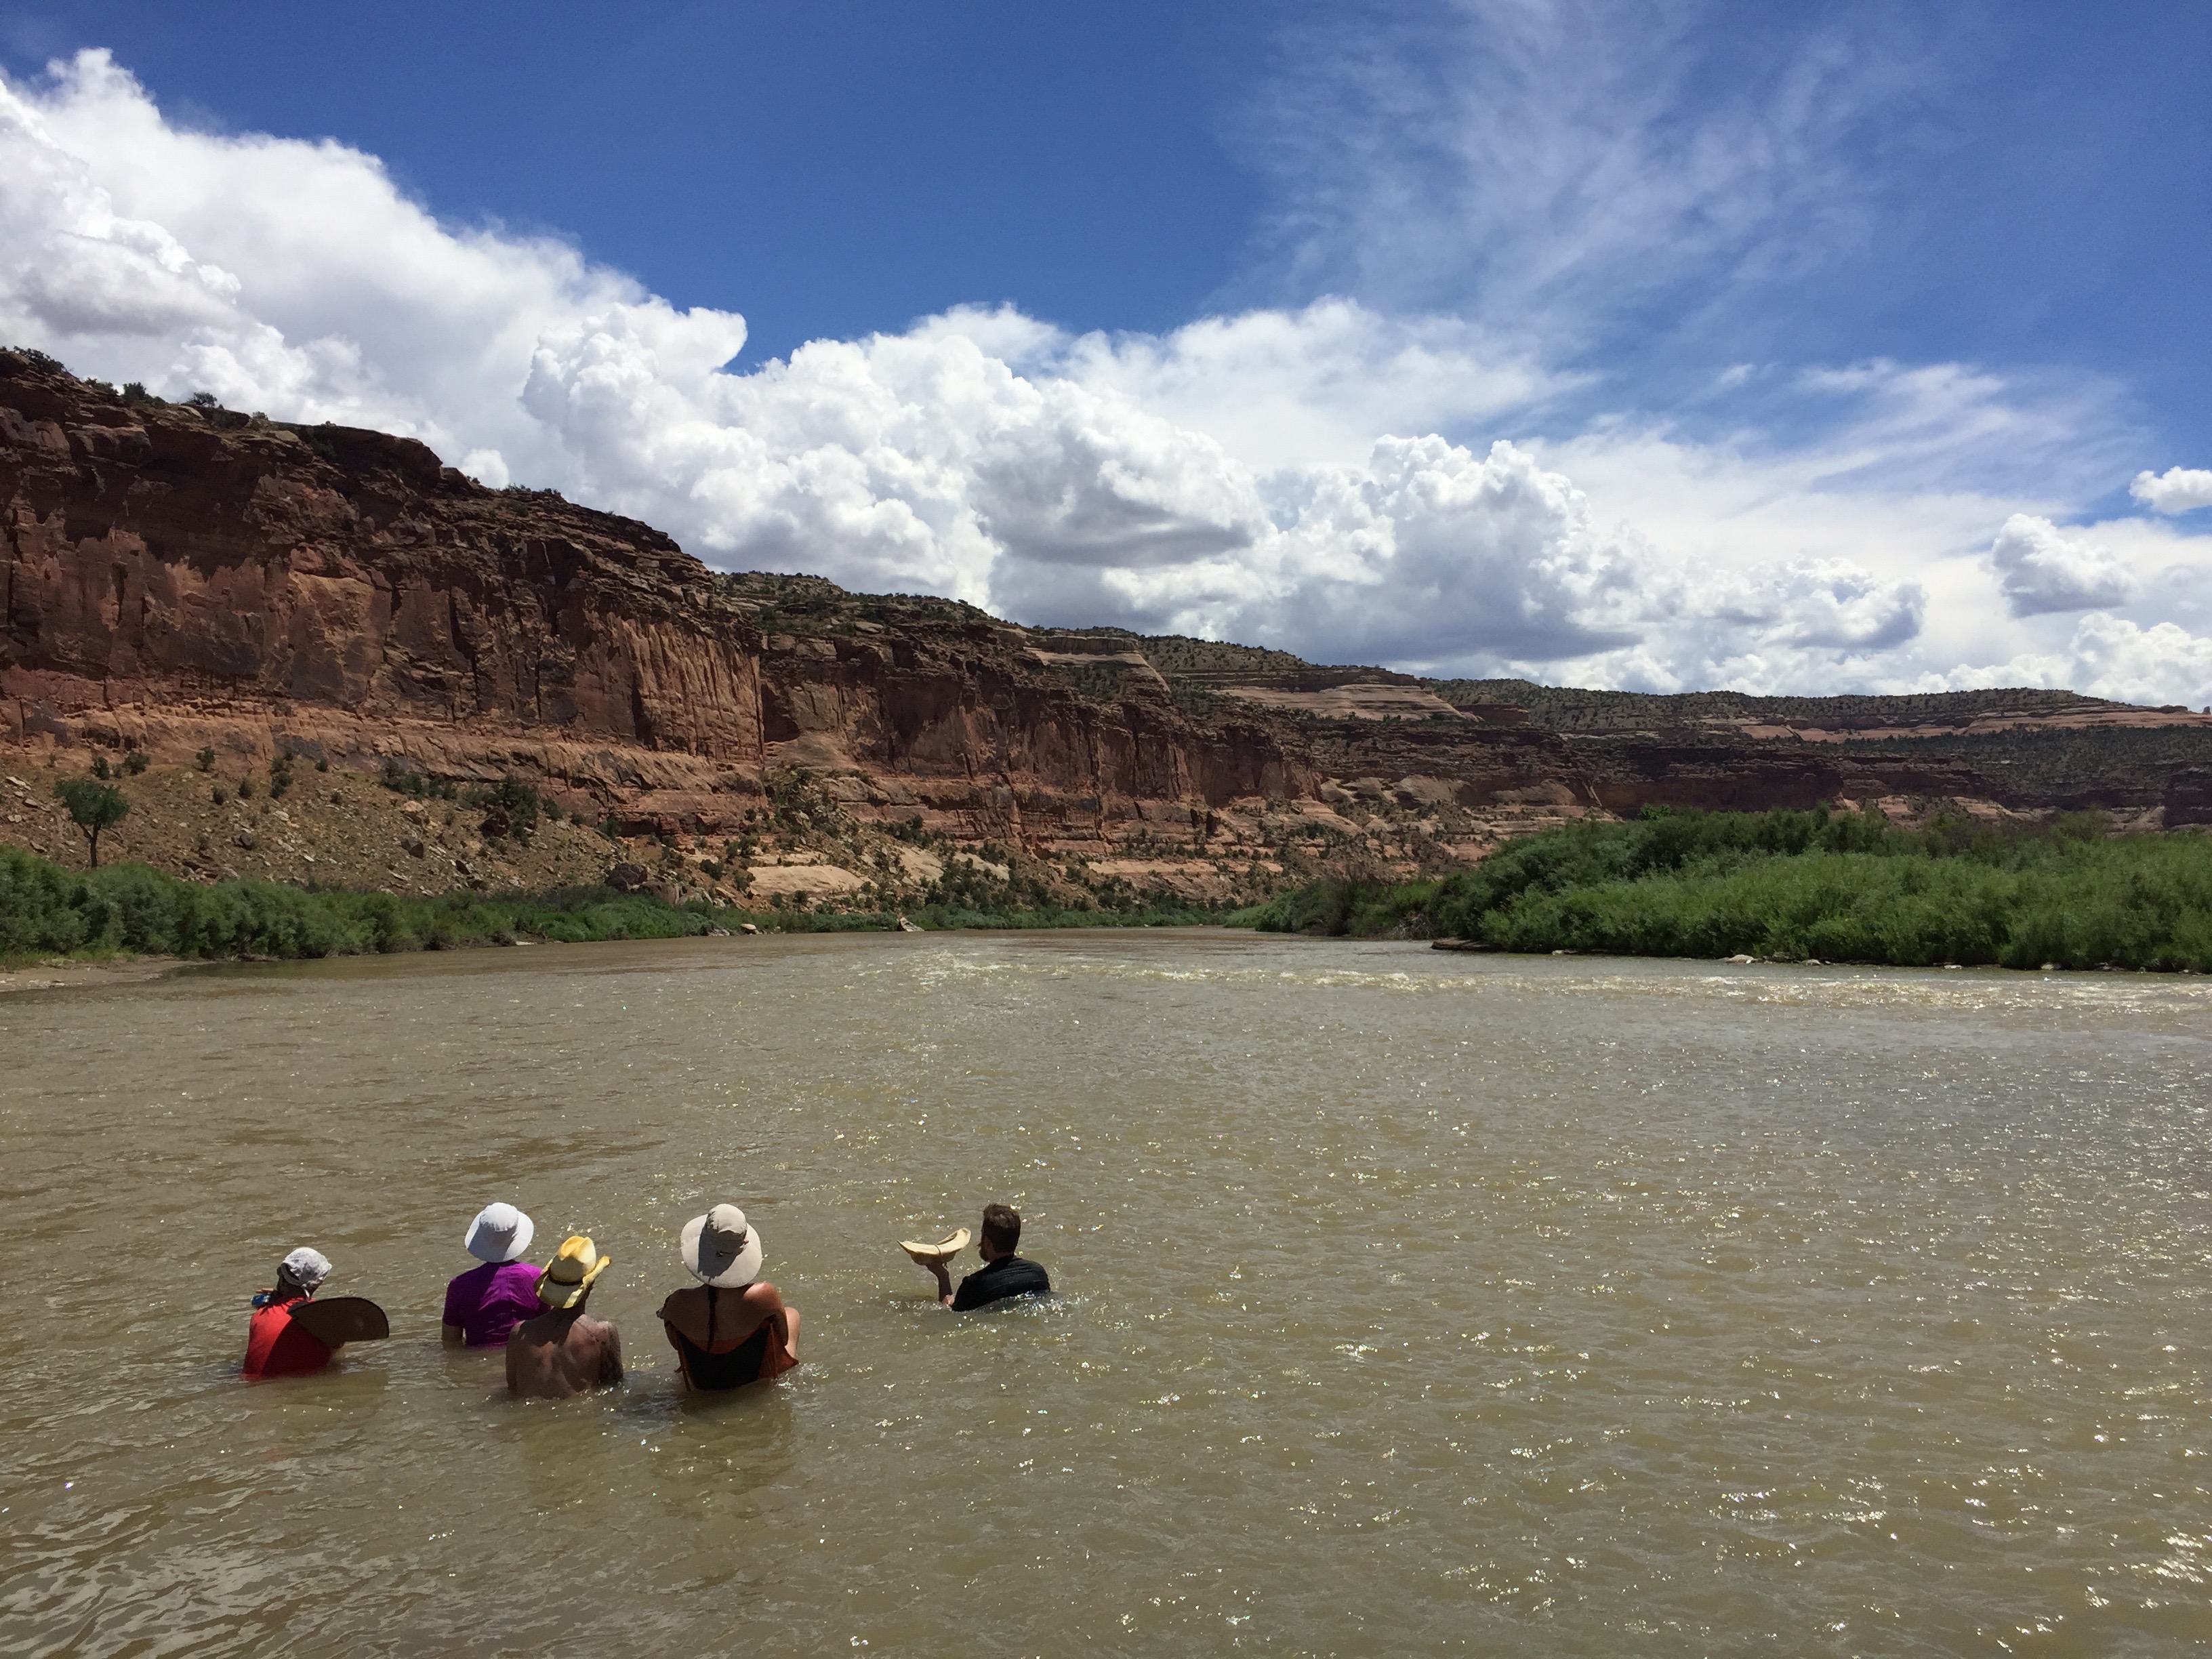
The first night we camped at “Cottonwoods 4” campground, which turned out to be a mosquito breeding ground. It was pretty brutal. I’ve never been amongst so many/such aggressive mosquitoes. I don’t even normally get bothered too much, and they attacked me. Others (including Erika) got absolutely mauled. We had to dash back and forth to the tents/waterfront, to try to avoid the worst of it, and all ended up turning in pretty early just to escape to the safety of our tents. That day was our first on the water, and we saw a bald eagle aerial-dogfighting with another bird, battled some crazy canyon-windtunnel-headwinds, and lounged around in camping chairs literally in the river.

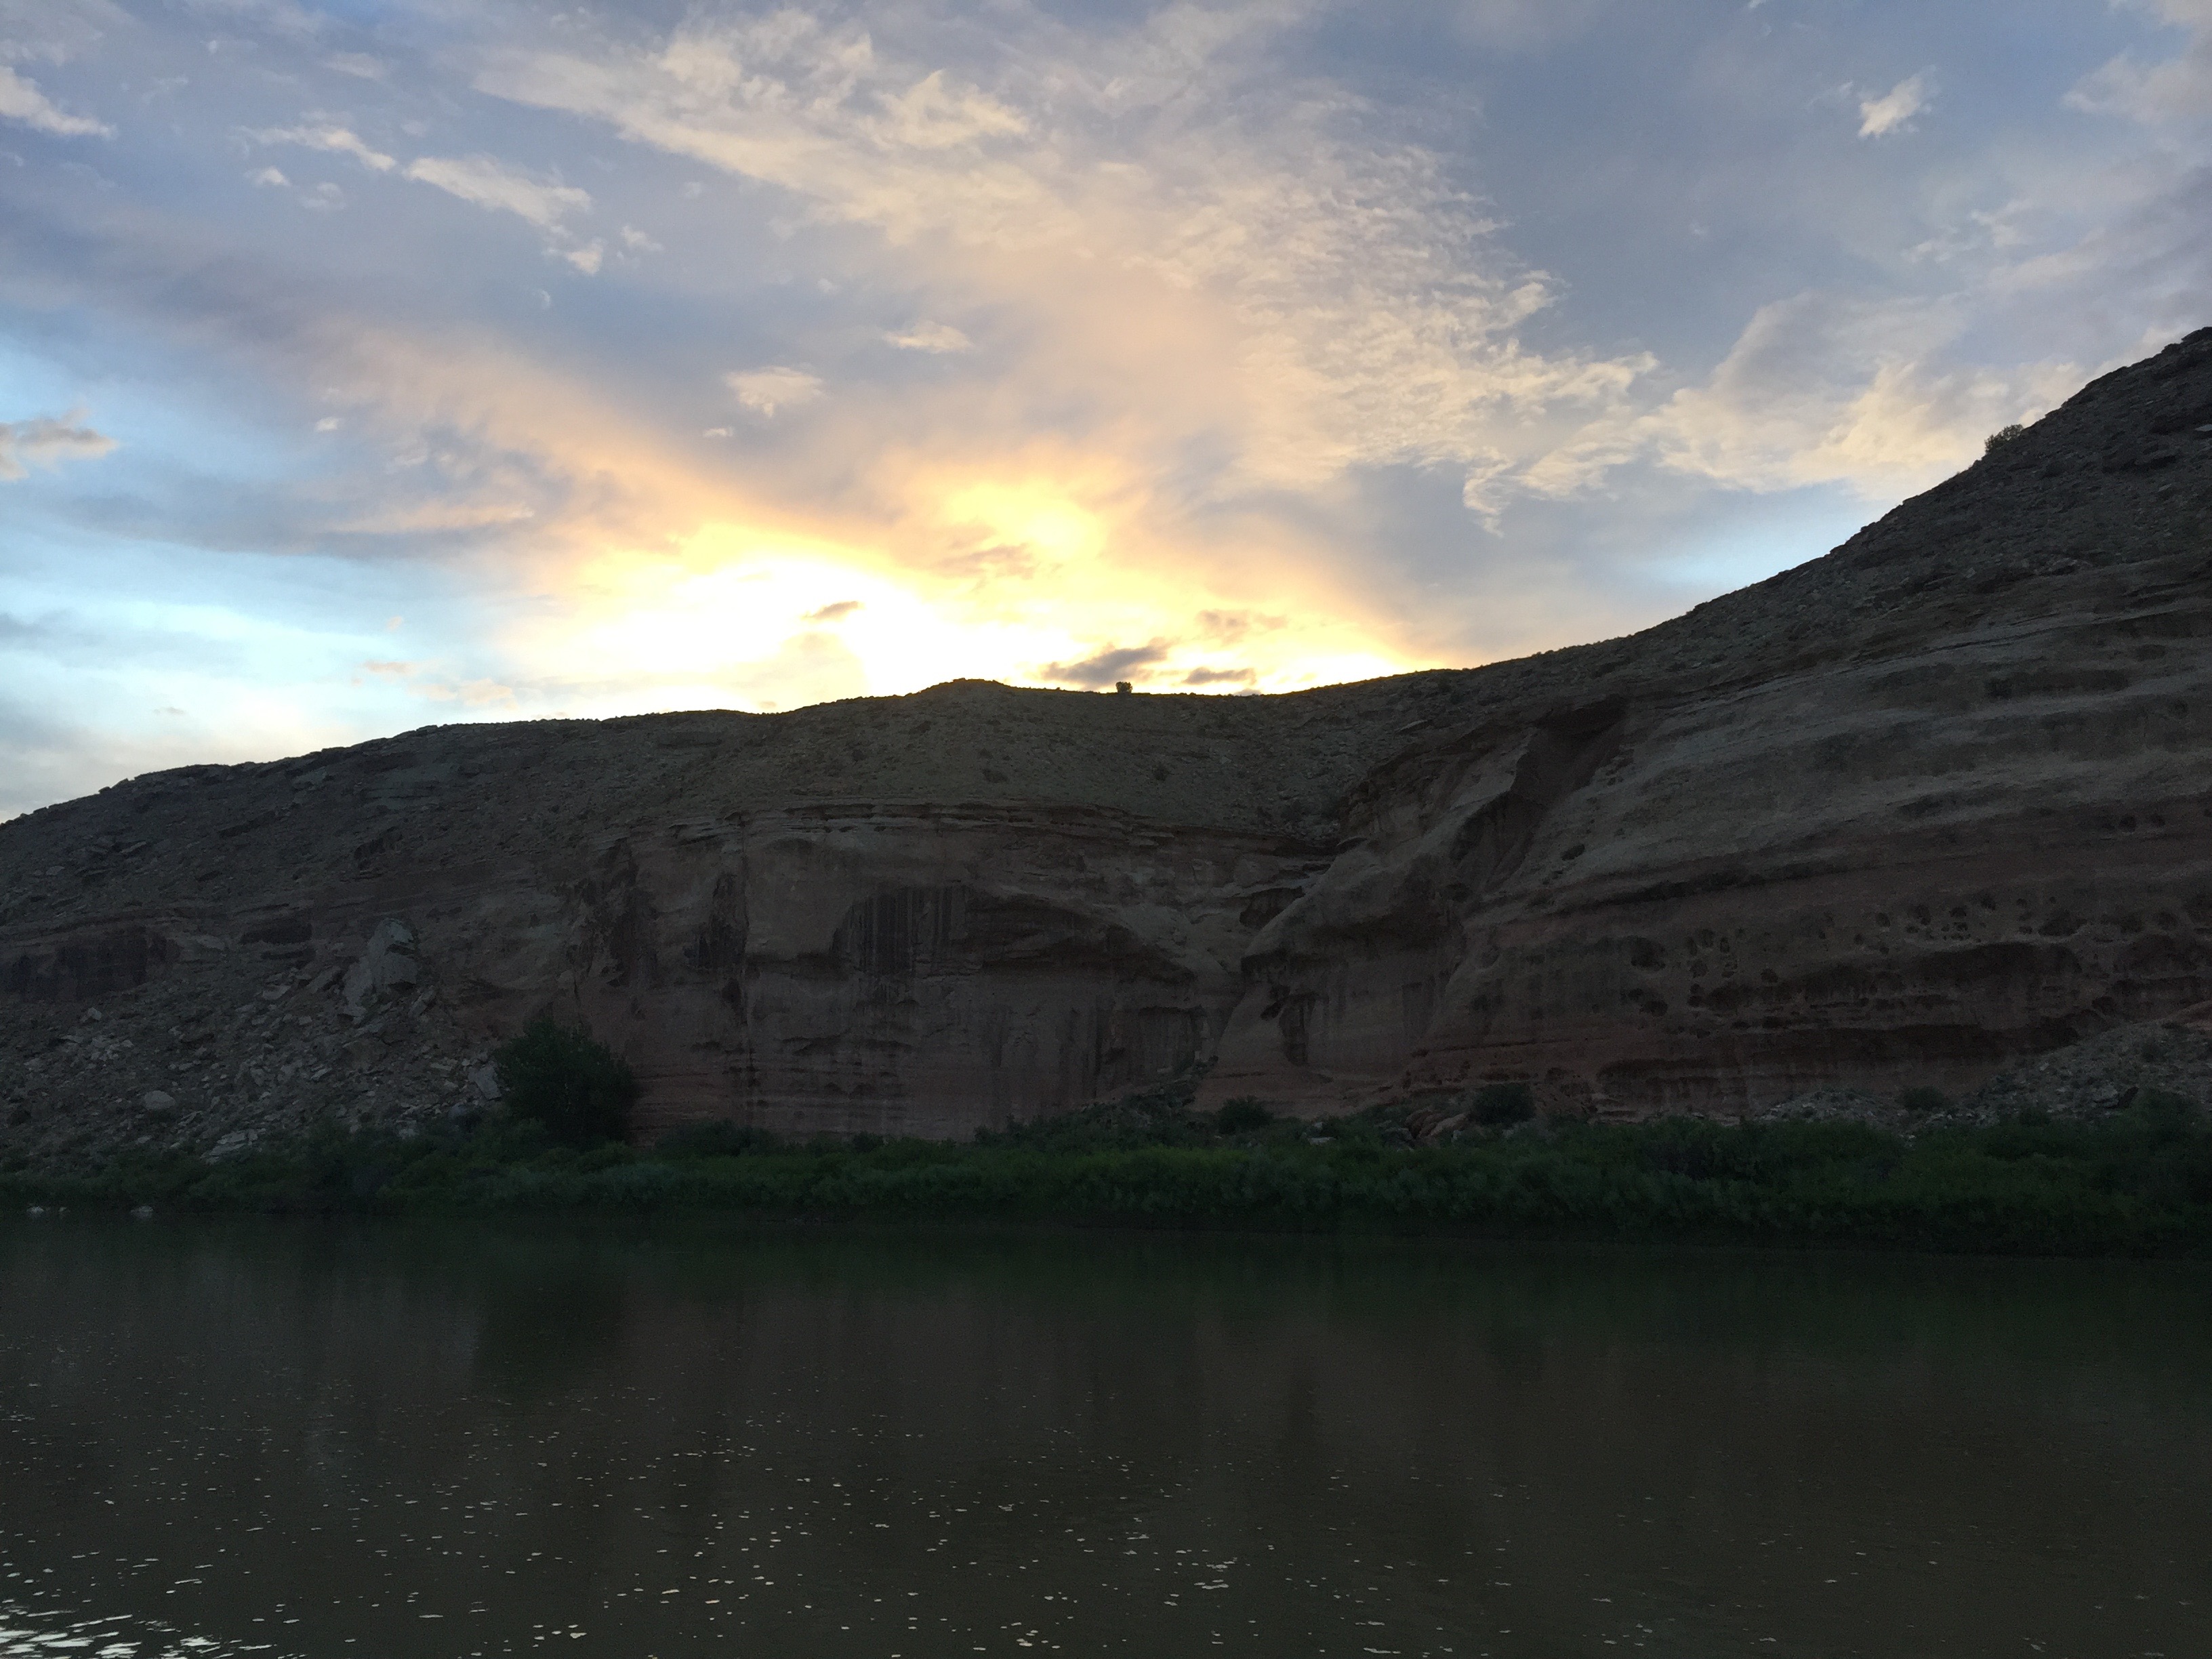
Up early the next day, quick breakfast, and bail out from mosquito-town. We got moving, all hoping that our campsite that night was less painful. As it turns out, it definitely was, although it was a bit of a challenge to actually get to. Tom had warned us that it involved some technical paddling to get there, just because you had to make some quick maneuvers across some small whitewater and fast-moving current. I think we were all freaking out a little bit, and so we scouted ahead, figured out exactly how we were going to tackle it, and then headed in, one boat at a time. It was well worth it. Such an amazing campsite. We had our own private, beautiful, sandy beach. Earlier in the day, we also saw an Amtrack train (the line runs right down in the canyon, next to the river) which was pretty fun. Apart from some wind around dusk (my tent blew away and rolled up the hill before I had it staked down!) there was absolutely nothing to complain about at this site. It was gorgeous.

On the last morning, we got moving and kept heading downriver. Towards the end of paddle-time (noon-ish) is when we got into some really flat/open, boring landscape. It was pretty amazing how different it felt to the breathtaking canyons of most of the previous 2 days. We found the take-out, unloaded, waited for our shuttle back to Fruita, then squared up, packed the cars, and headed back to Denver.

I had an amazing time, and it really set me up for my next adventure, a multi-day canoe adventure in the Minnesota Boundary Waters Canoe Area (more on that soon).

Colorado River Canoe Trip
Thanks Caltopo for the custom map!

Backyard Makeover

When we bought our house in Denver, we intentionally got one that didn’t really need any work done on the house itself. That didn’t entirely work out (yay emergency bathroom remodeling!), but most of our attentions have been focused on our yard, and particularly our back yard. We wanted a “livable” space, that we could spend a bunch of time in and really enjoy. It’s fun to look back at where we started, and where we are now.

(more…)

All New WordPress.com

Almost 2 years ago, I wrote about how the future of WordPress needed to be a REST-based API, with a JavaScript client on top of that. There were even public rumors that, gasp, we were thinking about porting WordPress to Node.js. Well, while that’s not exactly true, it’s closer to the truth than a lot of people probably realized.

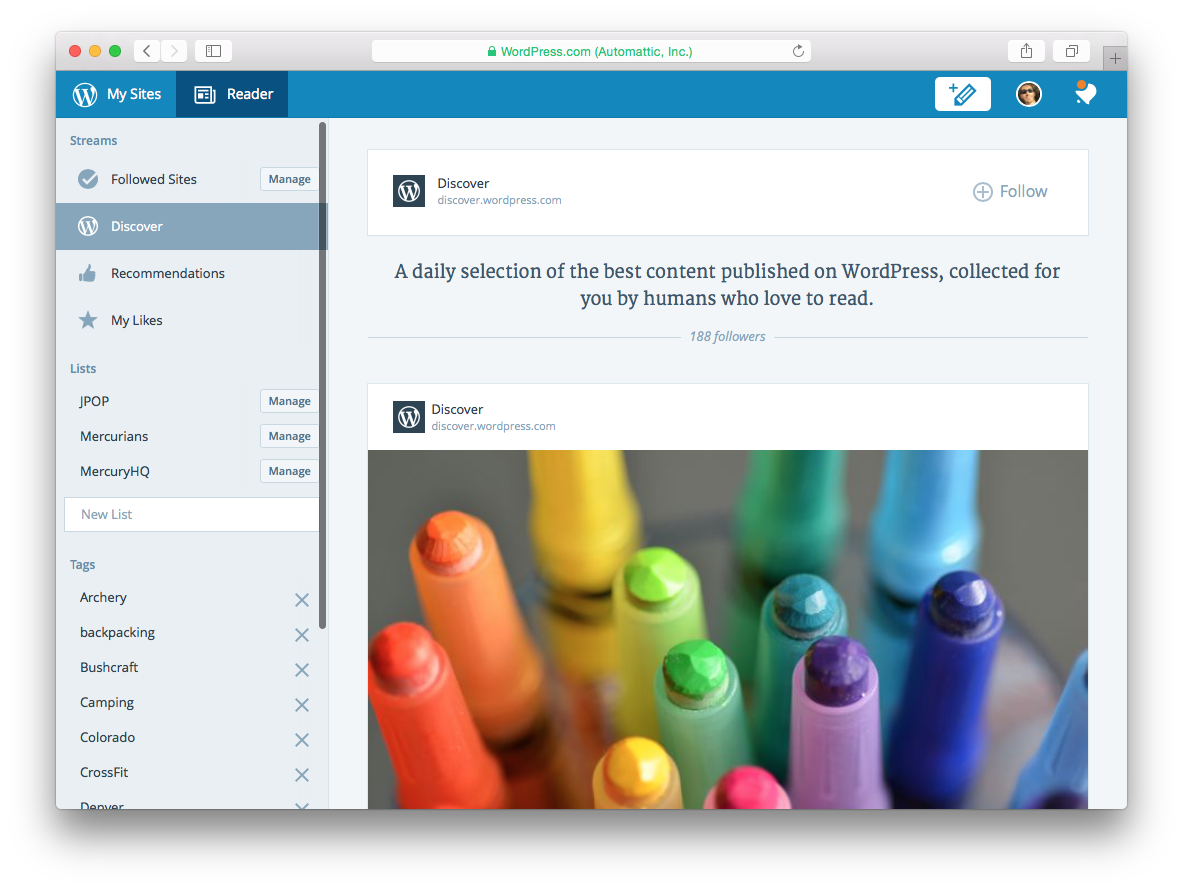
We are in fact using Node.js to power part of WordPress.com now. If you go to https://wordpress.com while logged in, your request is handled by a Node.js server, and the entire UI is written in JavaScript, although the majority of it is actually React.js. Unless you end up back in wp-admin, your admin/editing/posting/dashboard experience on WordPress.com is now handled entirely (well, almost; we’re still working on some pieces still) with JavaScript.

The UI is fully responsive (optimized for multiple screensizes, and flexible in between). Data updates are live (combination of polling and websockets, moving more to sockets over time). No full-page refreshes (it’s a single-page app). All API-driven (which means we can, and are, using the same APIs to power portions of the native mobile apps). Speaking of apps, we’re able to bundle our single-page, JavaScript application as a native app, so we did (OSX for now, Linux and Windows coming very soon). Leveraging our infrastructure, and the power of Jetpack, we can provide self-hosted users with the same experience as those we host directly (with more Jetpack-specific functionality coming soon as well).

This is a lot of change. But it goes deeper than just the entire technology stack we’re working on now. This was a complete culture-shift for Automattic, a now-400-person company traditionally made up of approximately 100% PHP developers. To get here, we at Automattic took a step back and asked ourselves;

What would WordPress.com look like if we were to start building it today?

As part of answering that question, we made a lot of changes internally:

  • Cross-trained all of our PHP developers (and some of our mobile developers!) into modern, performant JavaScript developers.
  • Switched to a completely GitHub-based workflow.
  • Every commit is now peer-reviewed.
  • Shifted to a very component-minded architecture.
  • Moved our WordPress codebase to be entirely API-driven. New features are now only launched as a new/modified API endpoint + data layer + UI layer.
  • Change in thinking from being very “plugin-oriented” (similar to WP-core) to a much more integrated and cohesive way of thinking of things across the web and mobile apps.

So today, in keeping with the DNA of Automattic, which shares the DNA of WordPress, we’re releasing what we’ve been working on as open source. It’s code-named “Calypso” (long story), and we’re extremely proud of what we’ve built over the last ~18 months. I truly hope that this can help guide or influence WordPress.org‘s future.

I wrote this post in the Calypso/WordPress.com Desktop app, and published it via Jetpack. That feels pretty darned good.

Guac-Off

During our last team meetup, we had a “guac-off”, where 2 of us made our own recipes of guacamole, and then everyone “blind taste tested” (aka devoured them, without knowing who made which one), and we voted. Mine won! In the end it was the texture (more chunky) that won it for me. Someone asked for the recipe, and this is the best I could give them:

  • Avocados (1-3 depending on size and how much you’re making, scoop out with a spoon, roughly dice, mash into bowl with a fork. Leave at least one half out, un-mashed, and add it in later to keep some more chunky texture)
  • Tomato (~1 whole, remove all the seeds/juicy bits, and dice the outside flesh)
  • Cilantro (handful, chopped up roughly)
  • Yellow Onion (~1/4, finely diced)
  • Lime Juice (usually 1 or less full limes’ worth; too much makes everything watery)
  • Jalapeño (~1, as much flesh as you want, and then include seeds to taste, that’s where the heat is)
  • Garlic (optional, I don’t remember if I had this during the meetup. Just a tiny bit (half a clove) either way, it really “comes to life” in guac)
  • Salt and Pepper (uses quite a bit of both, especially salt. Just keep adding and tasting until it’s good)

I start out by scooping, slicing and mashing up 1 avocado, and leaving one to the side. Then I’ll chop the onion, tomato, jalpeño and cilantro, and get that all in there. This is also when the garlic goes in (if you’re using it). While adding these, I’ll mix it and mash it a little bit, just to make sure it’s all mixed through. Now scoop, slice and throw in the other avocado, then add lime juice, salt and pepper. Mix it up (mashing a little more in the process) and keep adding salt/pepper until you get the taste you’re after. You can also tweak with more jalapeño or lime juice at this point, which is where a lot of the taste comes from.

For an interesting twist, throwing some chipotle powder in at the end can add a pretty good spice/smokey flavor.

Home Automation/Presence

I’ve been thinking about home automation a bit recently, and I realized that what I want as a big part of a system is some sort of generic presence-system. I’m imagining something along the lines of:

  • Small/cheap nodes that can be plugged in around a house/space
  • The nodes would form a mesh and talk to each other
  • Nodes would determine the strength of a signal (Bluetooth LE?) and “discuss” it amongst each other to determine which one you’re closest to, and thus roughly “where” you are (triangulate your location based on signal strengths)
  • Nodes would all connect to a server/service (could be locally-hosted), where they would broadcast your current location somehow. Maybe something like a Socket.IO server, so that other services could connect and receive live updates of location changes?

I wonder if this could be hacked together from iBeacons somehow, or if it’s too much the reverse of what they’re intended for? Does this already exist? Is there a better/simpler solution already available?

Benchmade Volli vs Kershaw Blur

Benchmade Volli on top, Kershaw Blur on bottom.

I just got my hands on a Benchmade Volli, and thought I’d do a quick comparison to the EDC knife that it’s replacing, the Kershaw Blur (black non-serrated blade). Here are my observations so far:

  • The Volli is clipped so that it sits tip-up in the pocket. The Blur is tip-down, so that’s taking some getting used to.
  • The handle on the Volli is noticeably thicker/fatter than the handle on the Blur. Since the clip also has a higher profile, the entire package is quite a bit bulkier in a pocket
  • The AXIS lock on the Volli is really nice, and the locking mechanism along the spine is a nice touch — you can double-lock the blade open for heavier work.
  • The Blur has a faster spring-assist, and a more satisfying “clunk” when coming open. I think the sound/clunk comes partially from the aluminum frame (vs the Volli’s “G10” handle, which is some kind of plastic/fiber stuff).
  • The Volli has zero blade-play, which the Blur has a bit.
  • The thumb-stud on the Blur is “one-sided”, and has a bit sharper of an edge on it, which can be good or bad.
  • Because of the slightly wider handle (and thus wider arc to get around it), I find the Volli harder to close one-handed.
  • The straight edge on the Volli’s blade is a big plus for me. The slightly curving blade on the Blur really annoyed me when sharpening it.
  • Handle length is (almost?) identical. Blade is a little longer on the Blur.
  • The Blur is a little heavier .
  • I really like the blade grind on the Volli.
  • The Volli’s blade is a little thinner than the Blur, and is also ground down along the spine to make it appear even thinner still.
  • Since the handle on the Volli is plastic, I guess I won’t be able to use it as reliably as a bottle opener (note the scratched out surface on the Blur, where the blade meets the handle 🙂 ).

Overall, I’m happy with the Volli, and will definitely keep is as my EDC (at least for now). I do think that if you could take the Volli blade and put it on something resembling the Blur handle, but keep the AXIS lock, you might really have a winner.

Flint-Knapping Arrow Heads

Image shows leather hand-pad, copper-tipped pressure flaker, small stone (Jasper?) arrow head and larger glass/beer bottle arrow head (both made by me, today).

A few weeks ago I decided to have a look on Meetup.com and see if there were some meetups that looked interesting enough to attend in the area. I spotted the Wilderness Awareness and Survival Skills in Denver group, and joined it immediately. I’ve been interested in this sort of thing for a while, and even attended a week-long school with Tom Brown a few years ago. The next meetup was going to be a basic flint-knapping class, which is something I’ve wanted to try for a while. We talked about it at the Tom Brown Tracker School class, but like so many other things, didn’t have time to get any hands-on experience. I’ve also been watching a bit of Ray Mears stuff lately, and he does some basic knapping in some of his episodes, so I had some recent motivation to check it out.

The meetup was held in the court-yard/shared space between 2 apartment blocks, one of which our guide lived in. Andrew is a really personable guy who apparently works for Denver Parks & Rec at the moment. He’s also studied and been practicing primitive skills for a while, and these meetups are his way of passing those skills along to others. He was really well-prepared, and provided us with everything we needed (except a chair) to get started, and to make some simple blades/arrow-heads.

We were mostly aiming for 3-notch arrow heads, since they give a notch to got in the end of an arrow shaft, and then 2 side-notches for binding the head to the shaft. They are a little more complex than some of the others I’ve seen (or the ones that Ray Mears was making), but they aren’t that hard once you get the hang of things, and I guess could even work without any natural glue, which is an advantage. They definitely require a fine, strong point on your pressure-flaker though, so you need something like a deer antler, or if you’re using some modern tools, then a copper-tipped flaker like we used works nicely.

For practice, we used the bottom of beer bottles, which flake pretty nicely, are cheap and easy to acquire, and are pretty consistent (so you don’t have to figure out crazy impurities or anything). To get the base off, we put a giant steel nail inside the bottom, then just shook it up and down a little until it popped out the base. Then you start flaking off the edges and go from there.

You’ll need:

  • A strip of leather (which you use in your hand, to guard against sharp flakes, and the tip of your pressure flaker)
  • A round/smoothish rock (or a few different ones), for percussion flaking and also for “platforming”
  • A pressure flaker, which you can see in the picture above (that’s a thick piece of copper wire in the tip of a piece of Aspen (I think, the wood doesn’t matter that much, just make it soft enough to get the wire in there). Traditionally, you’d use a deer antler (which we also tried). They are amazingly strong, and already pointed.
  • Stone/glass to knap.

There are 3 main things we were told to keep in mind:

  1. Platform: this refers to setting up the edge that you’re working on. Basically, you use a rounded stone to abrade/grind off the edge so that you can remove all the small irregularities and provide something a bit more substantial for your pressure flaker to grip onto.
  2. Centerline: which is just referring to the rough centerline of the mass of your piece, on a horizontal plane. You always want to be flaking down from this line (into your hand, “under” the piece you’re working on).
  3. Acute: you’re looking for acute angles, below the centerline. That’s where you can get good flakes, and make progress. If the angle is obtuse, there’s nowhere for your flaker to grip, and you won’t be able to flake anything off.

I went back and found my notes from Tracker School about flint knapping, and was impressed to see that they lined up almost 1:1 with what I learned today. Getting a chance to try my hand at it really made a difference though, and I’d like to give it a bit more of a shot in the future. I’m particularly interested in super-simple, percussion-flaking, which is something that seems like it could be immediately useful in a survival situation (where you’re not going to have something like antler or copper wire handy for true pressure flaking).

A big shout out to Andrew for being a great teacher, and I really look forward to having some more classes and adventures with him and the others.