Image shows leather hand-pad, copper-tipped pressure flaker, small stone (Jasper?) arrow head and larger glass/beer bottle arrow head (both made by me, today).
A few weeks ago I decided to have a look on Meetup.com and see if there were some meetups that looked interesting enough to attend in the area. I spotted the Wilderness Awareness and Survival Skills in Denver group, and joined it immediately. I’ve been interested in this sort of thing for a while, and even attended a week-long school with Tom Brown a few years ago. The next meetup was going to be a basic flint-knapping class, which is something I’ve wanted to try for a while. We talked about it at the Tom Brown Tracker School class, but like so many other things, didn’t have time to get any hands-on experience. I’ve also been watching a bit of Ray Mears stuff lately, and he does some basic knapping in some of his episodes, so I had some recent motivation to check it out.
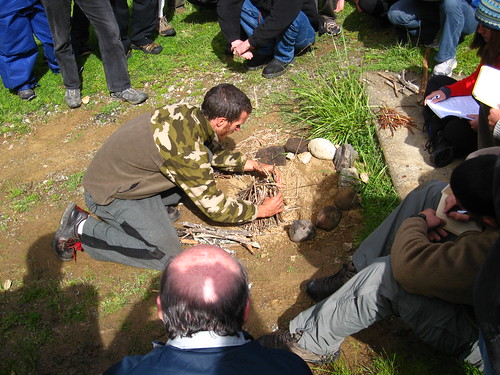
The meetup was held in the court-yard/shared space between 2 apartment blocks, one of which our guide lived in. Andrew is a really personable guy who apparently works for Denver Parks & Rec at the moment. He’s also studied and been practicing primitive skills for a while, and these meetups are his way of passing those skills along to others. He was really well-prepared, and provided us with everything we needed (except a chair) to get started, and to make some simple blades/arrow-heads.
We were mostly aiming for 3-notch arrow heads, since they give a notch to got in the end of an arrow shaft, and then 2 side-notches for binding the head to the shaft. They are a little more complex than some of the others I’ve seen (or the ones that Ray Mears was making), but they aren’t that hard once you get the hang of things, and I guess could even work without any natural glue, which is an advantage. They definitely require a fine, strong point on your pressure-flaker though, so you need something like a deer antler, or if you’re using some modern tools, then a copper-tipped flaker like we used works nicely.
For practice, we used the bottom of beer bottles, which flake pretty nicely, are cheap and easy to acquire, and are pretty consistent (so you don’t have to figure out crazy impurities or anything). To get the base off, we put a giant steel nail inside the bottom, then just shook it up and down a little until it popped out the base. Then you start flaking off the edges and go from there.
You’ll need:
- A strip of leather (which you use in your hand, to guard against sharp flakes, and the tip of your pressure flaker)
- A round/smoothish rock (or a few different ones), for percussion flaking and also for “platforming”
- A pressure flaker, which you can see in the picture above (that’s a thick piece of copper wire in the tip of a piece of Aspen (I think, the wood doesn’t matter that much, just make it soft enough to get the wire in there). Traditionally, you’d use a deer antler (which we also tried). They are amazingly strong, and already pointed.
- Stone/glass to knap.
There are 3 main things we were told to keep in mind:
- Platform: this refers to setting up the edge that you’re working on. Basically, you use a rounded stone to abrade/grind off the edge so that you can remove all the small irregularities and provide something a bit more substantial for your pressure flaker to grip onto.
- Centerline: which is just referring to the rough centerline of the mass of your piece, on a horizontal plane. You always want to be flaking down from this line (into your hand, “under” the piece you’re working on).
- Acute: you’re looking for acute angles, below the centerline. That’s where you can get good flakes, and make progress. If the angle is obtuse, there’s nowhere for your flaker to grip, and you won’t be able to flake anything off.
I went back and found my notes from Tracker School about flint knapping, and was impressed to see that they lined up almost 1:1 with what I learned today. Getting a chance to try my hand at it really made a difference though, and I’d like to give it a bit more of a shot in the future. I’m particularly interested in super-simple, percussion-flaking, which is something that seems like it could be immediately useful in a survival situation (where you’re not going to have something like antler or copper wire handy for true pressure flaking).
A big shout out to Andrew for being a great teacher, and I really look forward to having some more classes and adventures with him and the others.

