webpad’s interface was designed to be simple, familiar and easy to use. You can check out some screenshots to see what it looks like below.
Main Toolbar
Most functions in webpad are controlled through the main toolbar.
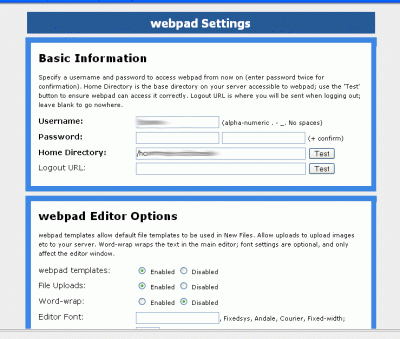
Settings Interface
This version of webpad features a simple yet flexible settings interface where you can configure the core settings for webpad, as well as any plugins you choose to install. Access the settings screen from the icon in the toolbar, and your changes will be effective immediately.
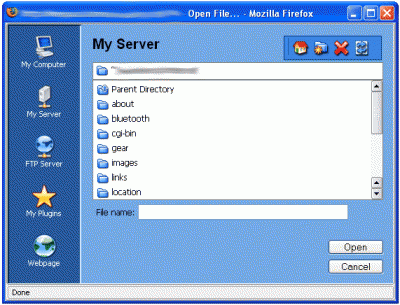
File Access
webpad has a powerful file-access window which gives you access to all file-types and plugins. From here you can open a file on your computer, your server, any FTP server, through a plugin or over the web (source code).
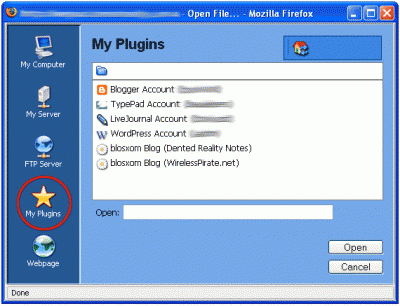
Powerful Plugin System
As of version 3.0, webpad includes a powerful plugin system which allows developers to write their own extensions to access other data sources. All plugins are accessed through the ‘Plugins’ option in the Location Bar on the Files window. webpad ships with plugins to access popular blogging platforms (Blogger.com, MovableType, LiveJournal, WordPress and blosxom).
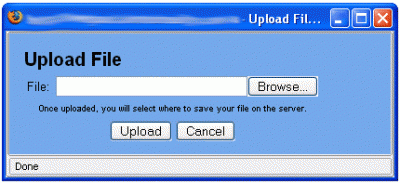
Upload Any File
Using webpad, you can easily upload (smaller) files to your server. This is perfect for when you just want to quickly upload an image or a PDF or something similar. Just use the ‘Upload’ tool, then specify where you’d like to save it within your home directory.
Email Documents
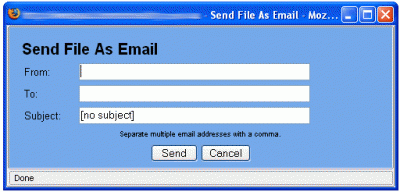
If you need to shoot off a quick email – webpad has you covered. Just type it up (or open an existing document if you like) and use the ‘Send File As Email’ tool to do just that. webpad even supports HTML email, so if your document contains <html>, then it will be sent as an HTML-formatted message.
Find and Replace
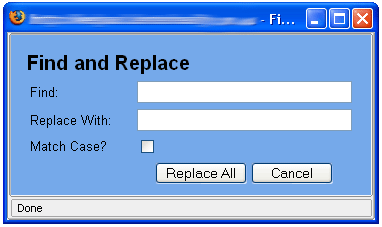
Something that will come in handy way more times than you would expect, Find and Replace allows you to locate any piece of text in your document and replace it with another one. Of course there is also a normal ‘Find’ tool if you just need to jump to the next occurrence of a particular string.
Insert A Link
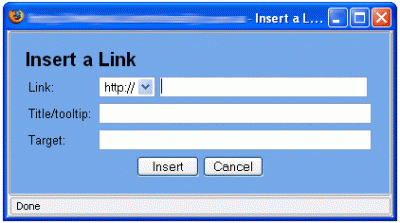
If you’re making a webpage or perhaps posting to your blog, chances are pretty good that you’re going to want to insert some links. webpad has a tool to help you do just that, with optional extras like the ‘title’ attribute and a target field to direct the link to.
Insert An Image
Inserting the HTML for an image is easy with the bundled image tool. Just enter the details of the image and webpad will construct the correct HTML and insert it at the cursor.
Insert A List
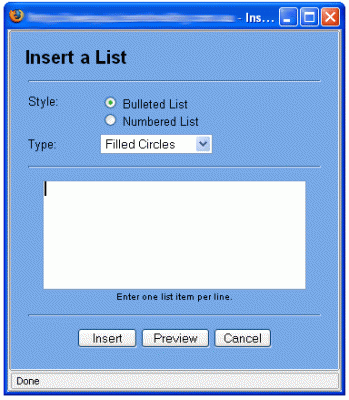
Lists (ordered and unordered) can be a pain to add in HTML, with so many tags required, and a number of different formatting options. webpad’s list tool makes them drop-dead simple. Just pick which format you’d like, then enter each item on a new line and webpad takes care of all the HTML. You can preview your list to make sure it looks right, and the click ‘Insert’ to put it directly into your document at the cursor.

